Alright, so here is what I have to work with! An adorable $12 Goodwill dresser! I found this a few weeks ago but went on vacation, had to work a bunch and celebrating birthday after birthday with my family so I haven't gotten to work on it yet. Anyways, I am giving you the fabulous gift of a very thorough picture guide to walk you through how I am redoing my dresser.
So lets begin.
1. First, I did a couple before pictures. Next, assess damage, such as the HORRIBLE backing on this dresser! It has holes, it's falling off, splitting apart... it's awful! It had to go! Some of the drawer bottoms were cracked and rough looking, drawer pulls missing a few screws, side coming apart from the front of the dresser. All in all, nothing I cant fix.


2. First, I had to fix the side as that had a lot to do with the structure of the dresser, so I had someone tip the dresser forward as I put glue into the crevice it had come out of once I glued I clamped it together and left that to dry for a few hours (I hate waiting!)
3. While I waited for that to dry I began the sanding on the drawers. As you can see, they're rough looking, lots of drips from the original finish, so I started w a 120 grit w an orbital sander (this thing works WONDERS! Get one!) once I got the main finish off the drawers I used a 220 grit sand paper,

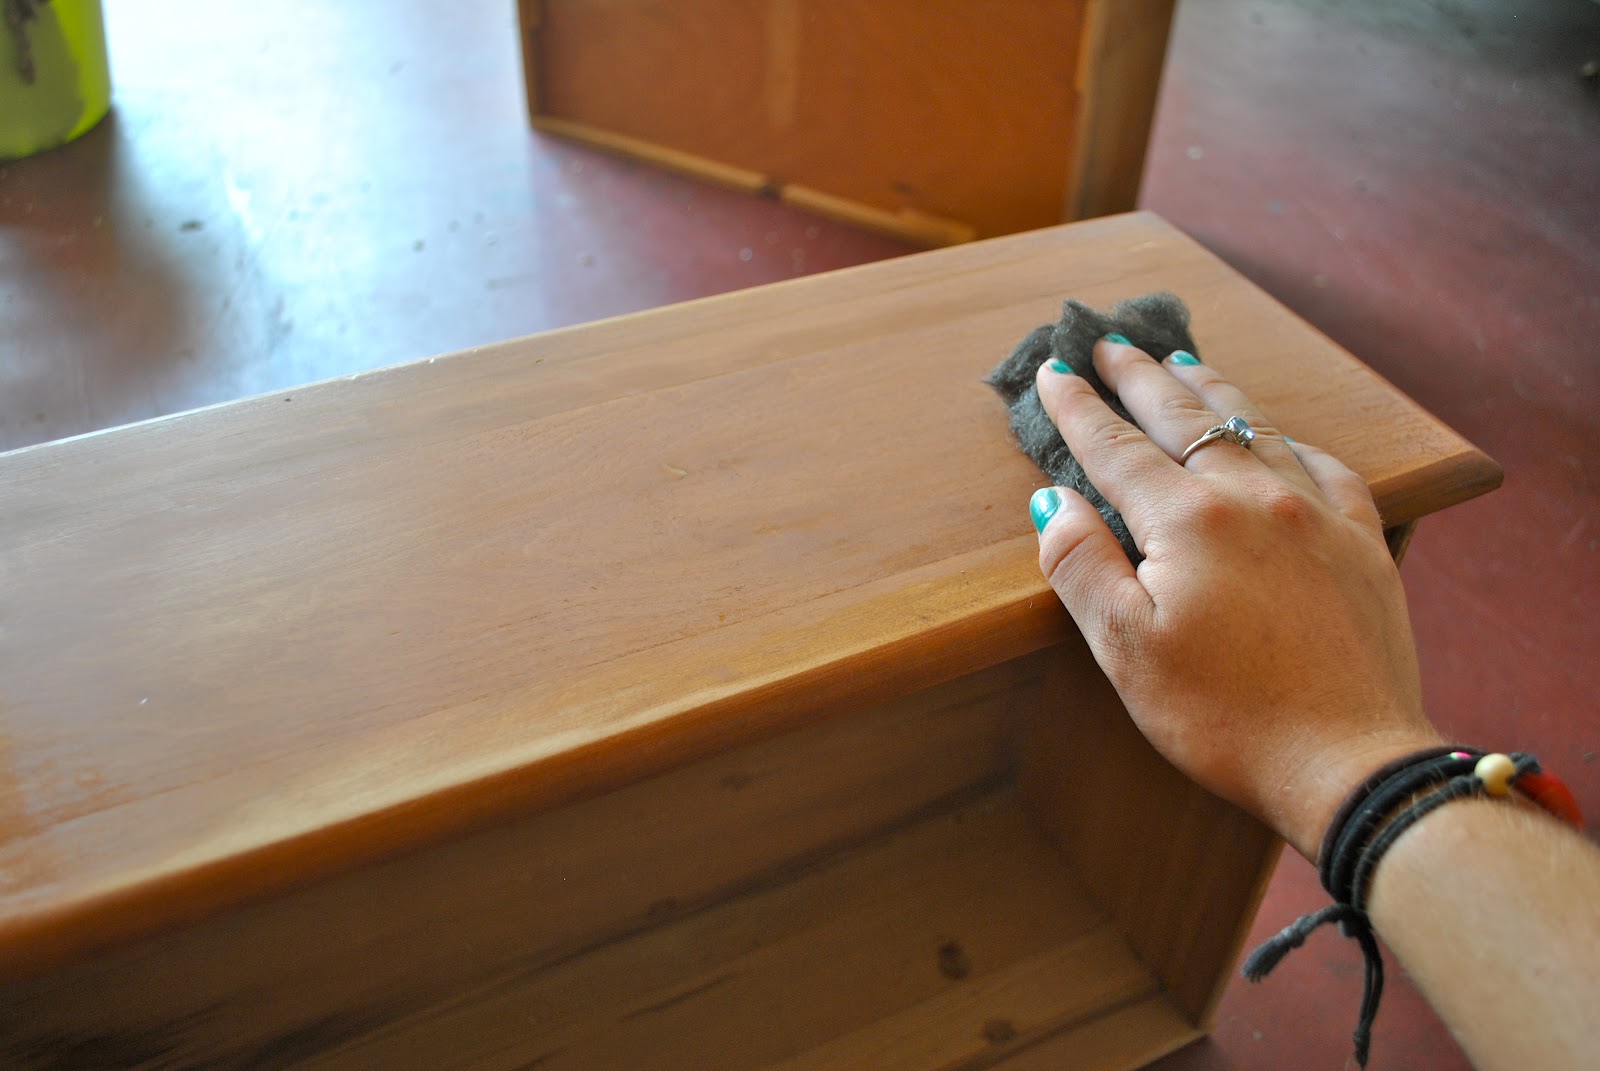


4. Take a break to complain about dust/steel wool getting in your eyes/contacts, being tired, getting sick, and just in general complaining. DO NOT skip this step.

5. Finish sanding... (I sanded the dresser body as well, just didn't take a picture)


6. Take ANOTHER break because the dog wants love... spoiled dog...

7. Now to fix the drawers!
First problem, the top drawer is all cracked from wear and tear and age, it holds weight but looks meh.. SO, I decided to make a false bottom.. this takes the weight off the center of the drawer and moves it to the corners, which is stronger.
I'll show you how I did that later.

Then I had to fix a piece on the back, basically replace a part and glue.. not too interesting

8. I decided to paint to drawers and line them with some old wall paper (still yet to do)

So thats the progress on day one! Enjoy!
No comments:
Post a Comment