Tuesday, July 17, 2012

Just Something To Think About.

So this is my second post tonight but I've had a few things today that I just wanted to throw out there. 

So, If you don't know me, (basically if you're not my lovely friend Emily reading this (Hi Em!! Love you!)) I have mentioned that I am as of about 2 months ago, 20 years old and going into my Junior year of college as a Fine Arts Major. 

I just wanted to sorta tell you a little about myself and make a few shout-outs. So just for those people that always asks "How did you learn how to do that?", "How did you learn to  paint like that??," "Who taught you how to make all this stuff?." Well, to answer that question, no one taught me to really do anything... 

I didn't even know I could paint till like 2 years ago after I had JUST graduated from high-school and decided I'd try to paint my teachers something for gifts, and I really truly suprised myself, at first I didn't even try to do anything difficult but then I decided to challenge myself and I was amazed with what I could do! I had never been taught anything from anyone, In fact the last time I had any sort of art class was in 7th grade art class at school.

I started with something really easy, an abstract, which in my mind, if I messed up, it wouldn't matter and I was surprised that it looked really cool!


So then I thought I'd challenge myself a little more with a landscape painting, the clouds were chunky but there was still a lot more talent there that I had never seen or even known was there, so from there I tried to challenge myself further...


From there I got better at shading and shadows and clouds... 


Then I tried to work on textures and changing sunsets, and I really was so happy with this painting, it was based on the GORGEOUS mountains of Ecuador, I went there w/ a group from my school and my principal went with us, this picture below was for her, she has it hung in her office. 


The next one I worked in silver paint into the clouds and gave it to a friend as a senior graduation gift, so loves it.


Then I gave this one to my mom for Mother's Day :)


Thats her on the dock :)


 So, I just wanted to share with yall (Yes, I am southern.) my background in art and sort of where I came from... Art has always been a huge focus in my life, it was how I learned as a kid, and is STILL how I learn. Ive always been invested in art talents that i had, always creating and making.

Like everyone else out there, I've had my ginormous failures and my happy successes, but as my mother says "[my] life is an experiment", if something doesn't turn out the way you want it well, thats just how it works, you learn from that and grow your knowledge through failures and successes. 

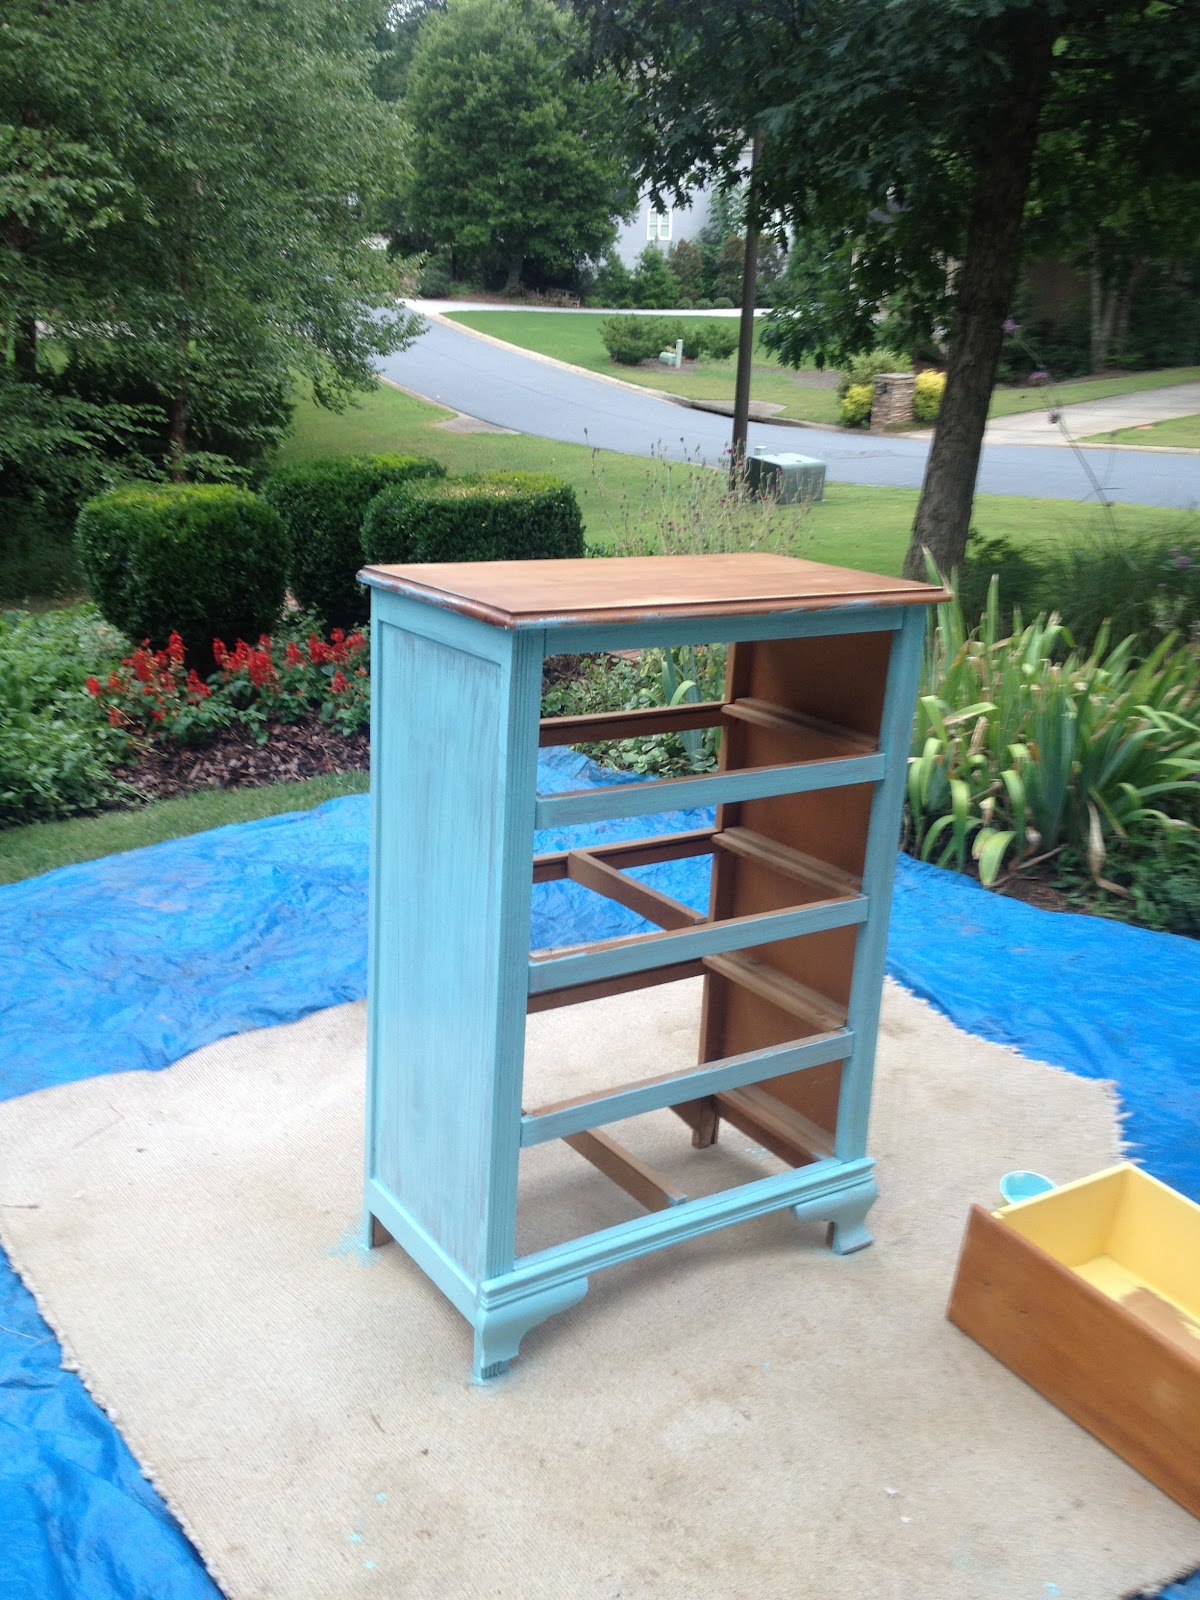
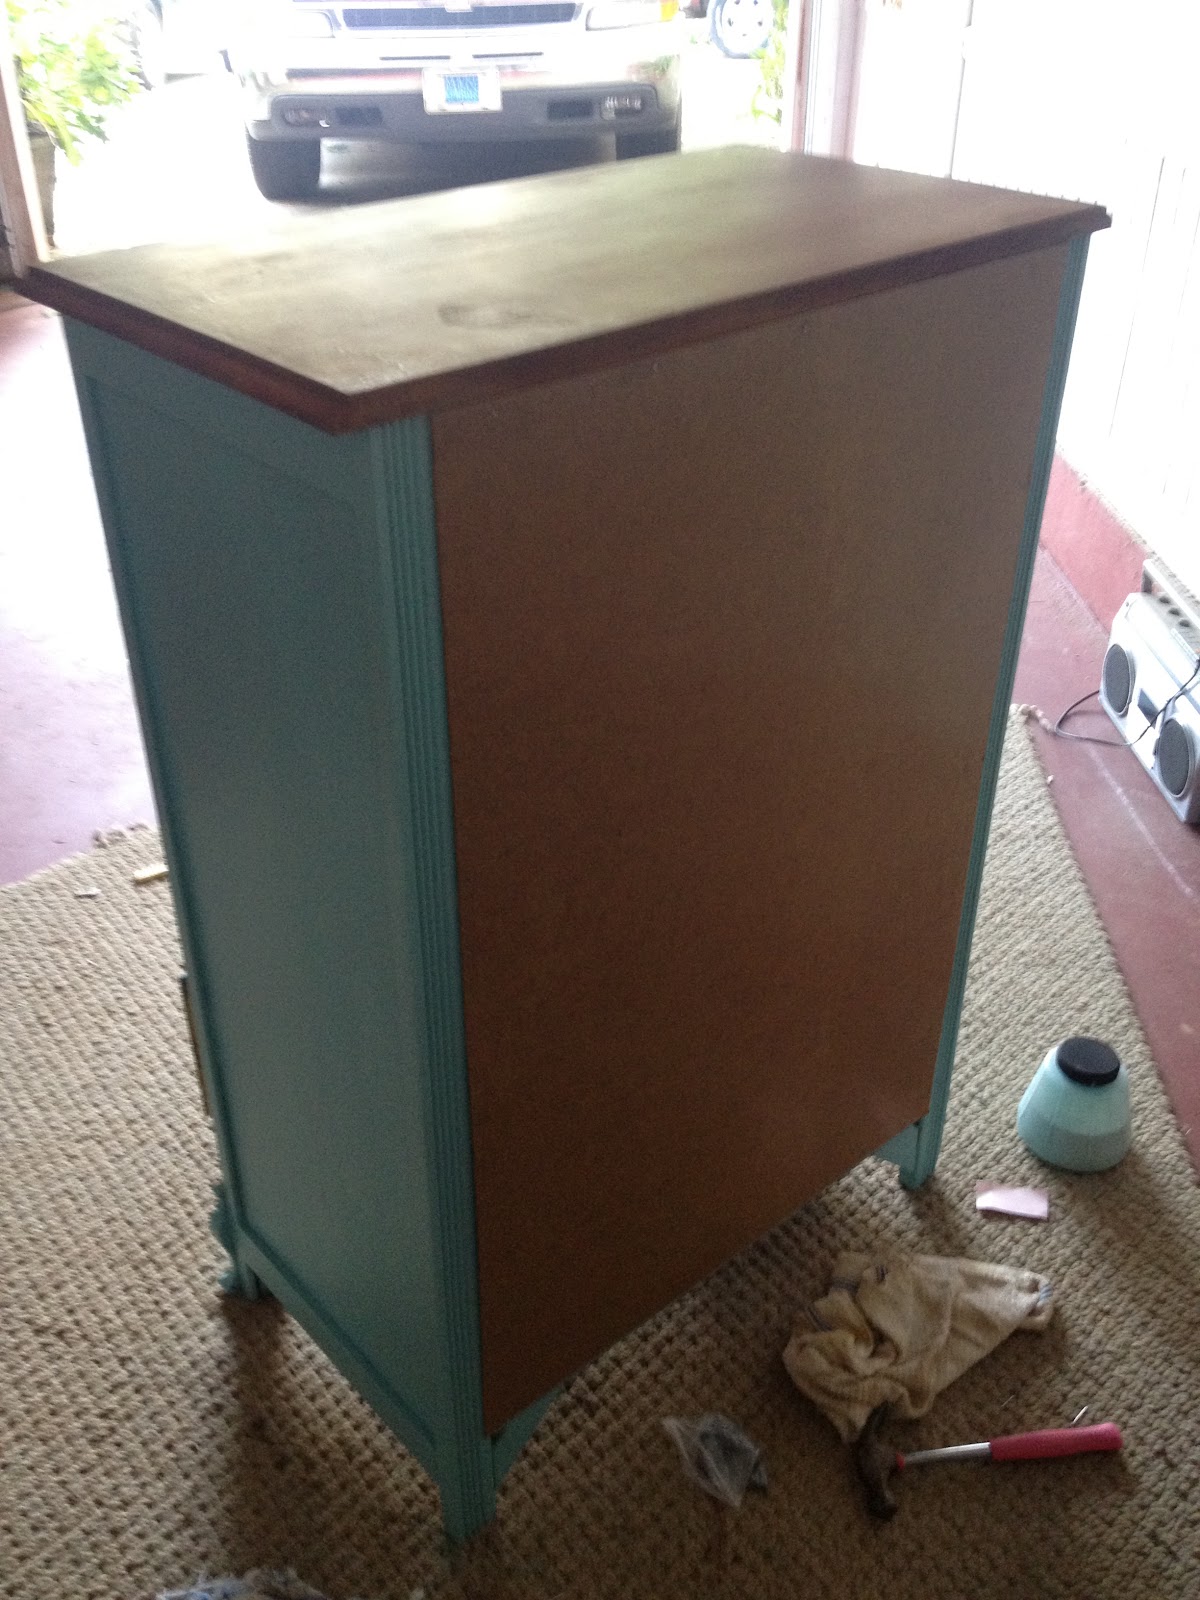
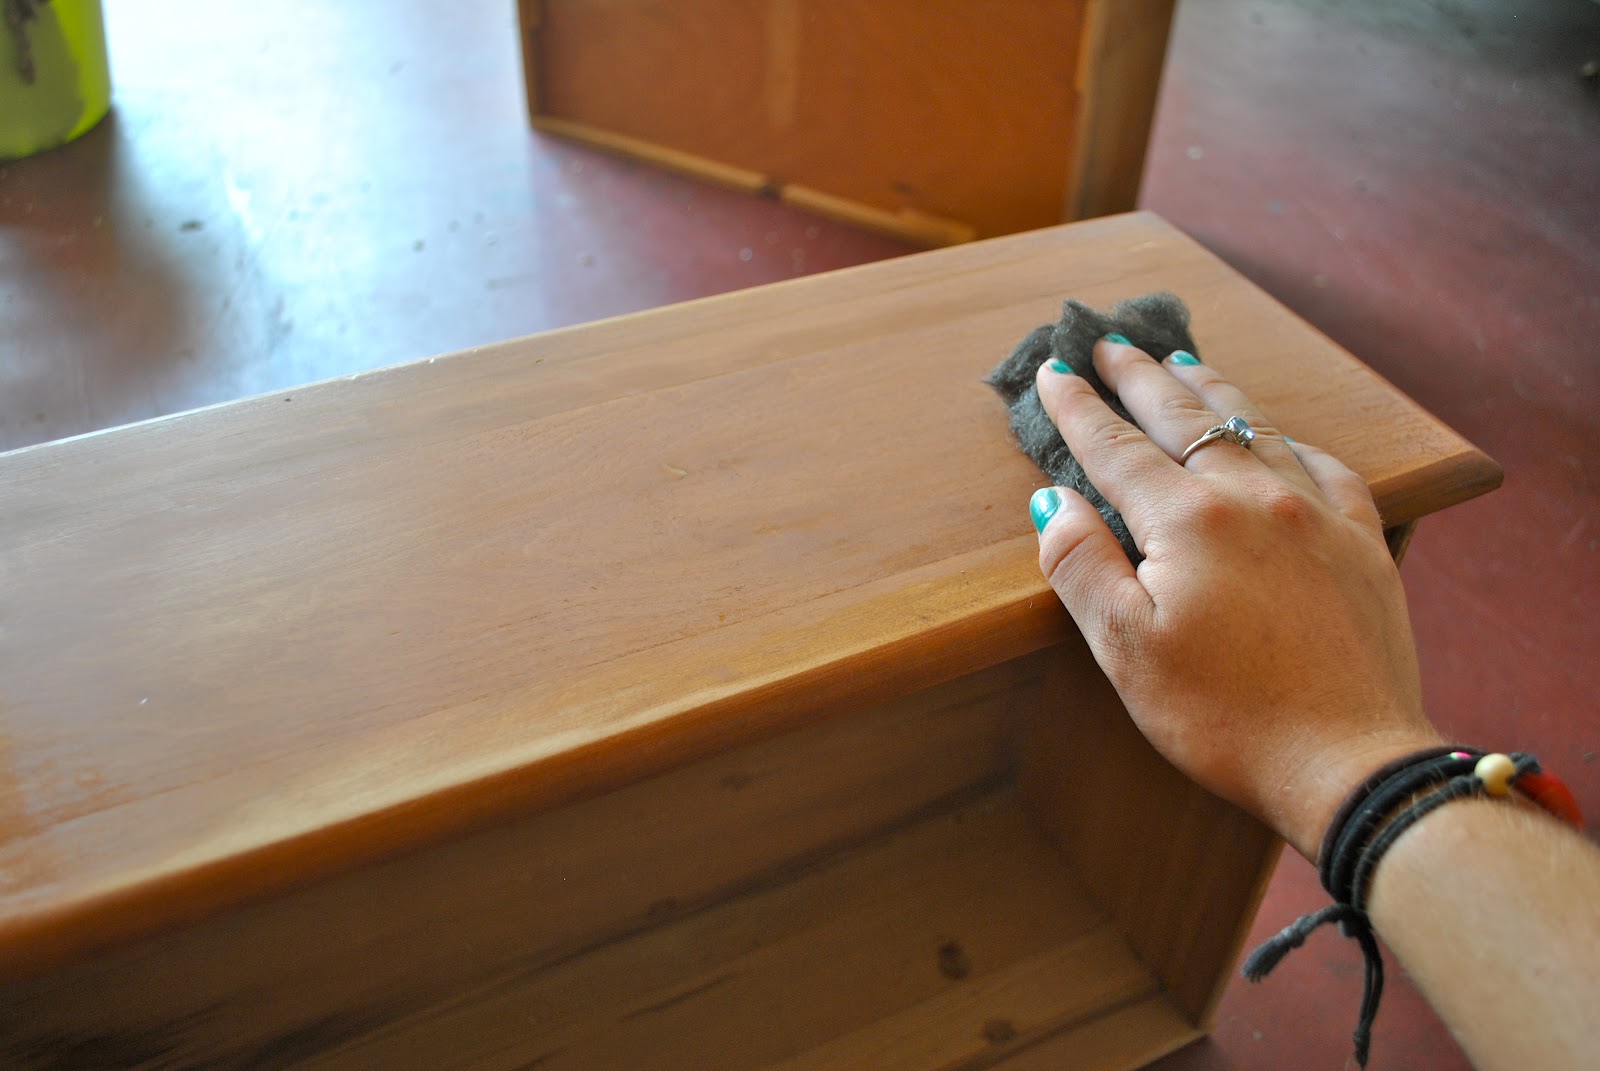
But anyways, I just wanted to give a shout out to Josie from the blog fineandfeathered.com, I sorta stumbled upon it through Pinterest (I think), I am in fact a Pinterest addict, and it's an ADORABLE looking blog, lots of very nice pictures, lots of DIY stuff and ideas, pretty much all my fav stuff, so I emailed her, saying well, pretty much exactly that and asked her some stuff about her blogging, and she emailed me back. Thank you for that BTW! Pet peeve of mine. And was SO sweet, compliments are like definitely one of the top things that motivate me to keep creating and expanding what I love to do and she told me "Your blog looks adorable! I love the dresser you just redid:)..." it make my night, I'm super proud of my new dresser, and I love just the support through compliments and comments from people. I just wanted to make sure she knew how much I appreciated the compliment and the very helpful advice! :) Thank you!!

And to all the other art hopefuls out there, don't quit, even if you don't go into something like that as a job, it's still a special quality thats unique to you. Also, people even though they may love my stuff that I make and create, and redo, and design, they can also be very discouraging, saying I will never make it anywhere with what I love and my dream, but in my mind, I don't think God would give me a gift He didn't intend me to use, and as I tell people, I'm gonna use it. Simple as that.

Dumpster Diving Adventure!!

So yesterday I did something I've NEVER done, well not really... Yesterday I was going to pick up my friend, Melanie, from her apartment and she lives in a "lower income" apartment, it use to be a mill and it's like the coolest apartments ever in my opinion, but I can't live there because the don't allow college students... -_- Anyways... 


BECAUSE it is a lower income apartment complex people get evicted all the time and they toss all their furniture to the dumpster... soooo... I decided to take some home... (the stuff I got wasn't actually IN the dumpster) I got a mirror, which is now in my house chillin' in my room and the top half of a tv entertainment center... don't ask me where the bottom went.. ?!?! But I couldn't fit it in my car (I need to get a big car) so we wheeled it all the way to her 3rd floor apartment where she's letting me keep it for a little while till I can get my parents to get in their car and take it back to my home home (non-school home)


Not sure how I'm going to fix the Tv thing, I was thinking of making it into like an armoire?
 Idk... any ideas???


Btw, excuse the mess in my room in the mirrors.. I was in the process of cleaning yesterday too. Oh and this mirror I sware is made of LEAD! It is the heaviest thing ever! And I'm strong for a girl (or pretty much anyone for that matter) I have no idea how I would hang it if I ever wanted to. Idk that im going to refinish the mirror, it actually still looks very nice..


So Melanie and I decided that we were going to make this a regular thing and she would tell me when there was cool furniture out there! WOOH! Free stuff! haha..

 Have you ever gone dumpster diving? Am I the only crazy person out there? Let me know! Comment! What did you find??

Thursday, July 12, 2012

Before & After


Dresser Overhaul: Day 2, 3, & 4


On Day #1 of overhaul I forgot to mention I went to Home Depot and bought paint ($12.58), a new backboard to replaced the cracked one I ripped off ($5.32), and stain (I just got a clearance Miniwax(sp?) for like $2.30). Overall, $20.20 spent! (Trust me thats not bad!)


On Day #2 of my dresser overhaul, it poured.... all day long! I was able to do pretty much nothing. I think the only think I was able to do was to cut the hardback piece for the back of the dresser and I nailed it on... 
On Day #3 I decided it didn’t need to be on yet so I took it off.. -_- ... I decided it’d be best to take it off because I still needed to paint the back of it and didn’t want to get paint on the new backboard. So I got everything ready to paint and set out a tarp in the yard and set up the power sprayer my granddad gave me that he used once... after 30+ minutes of setting that up and thinning the paint properly.....**motor noises**.... nothing... I decided to try again... **motor noises**.... nada.. 


Broken power sprayer after two uses.... AWESOME....!! I’ve always absolutely hated that thing, it almost ruined my last project, but my dad convinced me to use it again and this time it doesn’t even work this time... So time to move on to plan B (which in my mind is plan A), go back to the basics! Use a paintbrush!!  What a NOVEL idea!
 I explained to my dad that by using a power sprayer I would be taking away the textured effect that I wanted and that if I wanted it to look old I couldn’t use a new technique. It truly paid off in the end, I got to look I wanted and it looks wonderful! I got the imperfect look I was trying to get and used probably a fraction of the paint I would’ve used otherwise! Also I just used the paint that was already thinned which I believe also helped me get the look I was aiming for.


 The lady at home depot (after someone came and tried to help the first time) said that it wouldn’t be possible to get the look that I wanted with the paint i was getting, I told her.. “well.. my life is an experiment and this will be too” and that was that, i bought my paint and proved her wrong! (I LOVE doing that! It’s like my Freshman and Sophomore year of college over again!) But I ended up getting Behr’s “Embellished Blue”) Remember that when you go into a home depot or really any place that sells paint, 85% of the time the Paint chip samples they have are NOT the only colors you can get! If you ask someone there to help you, They can let you look through the “COLOR SAMPLE BOOK” that each brand has (I have a few at my house but didn’t really feel like looking at them before I went. Dumb idea). These shows you ALL the colors that are available, not Just the ones they want to put on display. Thats how I found my color. The guy that was originally helping me said it was a great color... haha... 
Anyways, I also on Day #2 painted the drawer sides and on the insides just for a little extra touch of color so i was worried about spraying the dresser and saving that color, so I guess it really was a good thing it didn’t work. 
So on Day #3 I painted the dresser body and had to rush and move it all into the garage because it like torrential stormed a little while later, oh and our house was leaking everywhere... -_-  
And today (Day #4) I finished the false bottoms and use some leftover wallpaper to line all the drawers.... aaaaannnddd duh duh duh daaaa (drumroll) ALL DONE!!!!!!


 TADA! One of my VERY favorite overhauls so far!! Tell me what you think and leave a comment!


Tuesday, July 10, 2012

Dresser Overhaul: Day 1

Alright, so here is what I have to work with! An adorable $12 Goodwill dresser! I found this a few weeks ago but went on vacation, had to work a bunch and celebrating birthday after birthday with my family so I haven't gotten to work on it yet. Anyways, I am giving you the fabulous gift of a very thorough picture guide to walk you through how I am redoing my dresser.
So lets begin.

1. First, I did a couple before pictures. Next, assess damage, such as the HORRIBLE backing on this dresser! It has holes, it's falling off, splitting apart... it's awful! It had to go! Some of the drawer bottoms were cracked and rough looking, drawer pulls missing a few screws, side coming apart from the front of the dresser. All in all, nothing I cant fix.


2. First, I had to fix the side as that had a lot to do with the structure of the dresser, so I had someone tip the dresser forward as I put glue into the crevice it had come out of once I glued I clamped it together and left that to dry for a few hours (I hate waiting!)

3. While I waited for that to dry I began the sanding on the drawers. As you can see, they're rough looking, lots of drips from the original finish, so I started w a 120 grit w an orbital sander (this thing works WONDERS! Get one!) once I got the main finish off the drawers I used a 220 grit sand paper, 


4. Take a break to complain about dust/steel wool getting in your eyes/contacts, being tired, getting sick, and just in general complaining. DO NOT skip this step.


5. Finish sanding... (I sanded the dresser body as well, just didn't take a picture)


6. Take ANOTHER break because the dog wants love... spoiled dog...


7. Now to fix the drawers! 

First problem, the top drawer is all cracked from wear and tear and age, it holds weight but looks meh.. SO, I decided to make a false bottom.. this takes the weight off the center of the drawer and moves it to the corners, which is stronger. 

I'll show you how I did that later.


Then I had to fix a piece on the back, basically replace a part and glue.. not too interesting


 8. I decided to paint to drawers and line them with some old wall paper (still yet to do)


So thats the progress on day one! Enjoy!